Windows Azure PowerShell Cmdlets In a Nutshell
Windows Azure PowerShell Cmdlets is a great tool to manage your Windows Azure services but if you are like me, you would wanna know where all the stuff is going. This post is all about it.
26 April 2013
4 minutes read
Related Posts


Managing your Windows Azure services is super easy with the various management options and my favorite among these options is Windows Azure PowerShell Cmdlets. It's very well-documented and if you know PowerShell enough, Windows Azure PowerShell Cmdlets are really easy to grasp. In this post I would like to give a few details about this management option and hopefully, it'll give you a head start.
Install it and get going
Installation of the Windows Azure PowerShell Cmdlets is very easy. It's also well-documented. You can reach the download link from the "Downloads" section on Windows Azure web site. From there, all you need to do is follow the instructions to install the Cmdlets through Web Platform Installer.
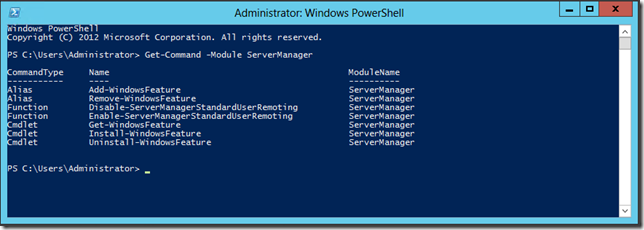
After the installation, we can view that we have the Windows Azure PowerShell Cmdlets installed on our system by running "Get-Module -ListAvailable" command:

To get you started using Cmdlets, you can see the "Get Started with Windows Azure Cmdlets" article which explains how you will set up the trust between your machine and your Windows Azure account. However, I will cover some steps here as well.
First thing you need to do is download your publish settings file. There is a handy cmdlet to do this for you: Get-AzurePublishSettingsFile. By running this command, it will go to your account and create a management certificate for your account and download the necessary publish settings file.
Next step is to import this publish settings file through another handy cmdlet: Import-AzurePublishSettingsFile <publishsettings-file-path>. This command is actually setting up lots of stuff on your machine.
- Under "%appdata%\Windows Azure Powershell", it creates necessary configuration files for the cmdlets to get the authentication information.

- These configuration files don't actually contain certificate information on its own; they just hold the thumbprint of our management certificate and your subscription id.
- Actual certificate is imported inside your certificate store. You can view the installed certificate by running "dir Cert:\CurrentUser\My" command.

Now you are ready to go. Run "Get-AzureSubscription" command to see your subscription details and you will see that it's set as your default subscription. So, from now on, you don't need to do anything with your subscription. You can just run the commands without worrying about your credentials (of course, this maybe a good or bad thing; depends on your situation). For example, I ran the Get-AzureVM command to view my VMs:

So, where is my stuff?
We installed the stuff and we just saw that it's working. So, where did all the stuff go and how does this thing even work? Well, if you know PowerShell, you also know that modules are stored under specific folders. You can view these folders by running the '$env:PSModulePath.split(';')' command:

Notice that there is a path for Windows Azure PowerShell Cmdlets, too. Without knowing this stuff, we could also view the module definition and get to its location from there:
Get-Module -ListAvailable -Name Azure

"C:\Program Files (x86)\Microsoft SDKs\Windows Azure\PowerShell\Azure" directory is where you will find the real meat:
On the other hand, when we imported the publish settings, it puts a few stuff about my subscription under "%appdata%\Windows Azure Powershell". The certificate is also installed under my certificate store as mentioned before.
Clean Up
When you start managing your Windows Azure services through PowerShell Cmdlets, you have your Windows Azure account information and management certificate information at various places on your computer. Even if you uninstall your Windows Azure PowerShell Cmdlets from your machine, you are not basically cleaning up everything. Let's start by uninstalling the Cmdlets from your computer.
Simply go to Control Panel > Programs > Programs and Features and find the installed program named as Windows Azure PowerShell and uninstall it. You will be done.

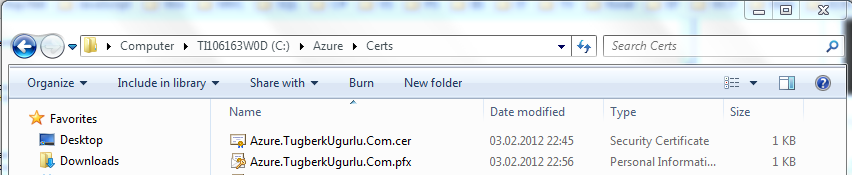
Next step is to go to "%appdata%\Windows Azure Powershell" directory and delete the folder completely. One more step to go now: delete your certificate. Find out what the thumbprint of your certificate is:

Then, run the Remove-Item command to remove the certificate:
Remove-Item Cert:\CurrentUser\My\507DAAF6F285C4A72A45909ACCEE552B4E2AE916 –DeleteKey
You are all done uninstalling Windows Azure PowerShell Cmdlets. Remember, Windows Azure is powerful but it's more powerful when you manage it through PowerShell ![]()
References

Hey, I'm Tugberk 👋
Coder 👨🏻💻, Speaker 🗣, Author 📚, ex-Microsoft MVP 🕸, Blogger 💻
I live in London, UK 🏡
