TinyMCE HTML Text Editior & ASP.NET MVC - Setting It Up Has Become Easy With Nuget
One of the best Javascript WYSIWYG Editors TinyMCE is now up on Nuget live feed. How to get TinyMCE through Nuget and get it working is documented in this blog post.
7 September 2011
6 minutes read
Related Posts


![]() Overview of the Process
Overview of the Process
Couple of weeks ago, I was setting up a new project and I have created a folder called ‘lib’ inside the $(SolutionDir) as usual to put all the dependencies that I am going to be using for my project (.Net libraries, JavaScript libraries, etc.).
Then, I go to http://www.tinymce.com/ to grab the latest version of TinyMCE which is an awesome Javascript WYSIWYG Editor. This action popped up a balloon inside my head that tells me I had been doing this stuff over and over again for 80% of the projects that I have created. So this hits me hard and I thought I should automate this process. In order to do that, I’ve created an internal Nuget package just for myself to pull the TinyMCE package with plugins. Even, I have created EditorTemplates so that I could just give my model a hint to use the template.
That worked pretty well for me but don’t miss the point here. That worked pretty well only for me. Not for John, Denis, Adam and so on. After I thought this, I have come across a blog post about TinyMCE integration on ASP.NET MVC 3 (The blog post is in Turkish). Remember the balloon which popped up inside my head? This blog post widened that balloon and it hit me harder this time. The process which has been documented there is a very well working sample but well…, it looked more like a poor man’s TinyMCE integration for me. (The article was nice but it wasn’t following the DRY way)
After that, I have decided to enhance my packages to push them to live Nuget feed. So, I have contacted with the package admins on their forum :
@Spocke has replied my post in a short time and gave me a go ahead to push the package to live Nuget feed. I am not going to get into details of how I created the package. Mostly, I will show how to set up your environment to get TinyMCE working in a short time.
TinyMCE into an ASP.NET MVC project

It is now easy to get TinyMCE package to your project with Nuget. It’s even easier to get it working with ASP.NET MVC. In this post, I am going show you the easiest way to get it work ASP.NET MVC but I hope I am going to cover for Web Forms as well in near future.
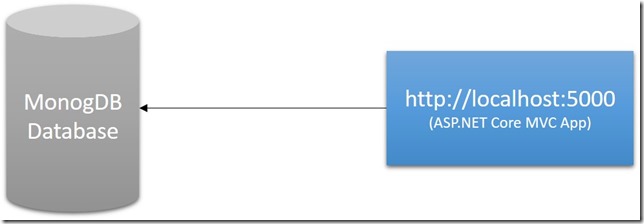
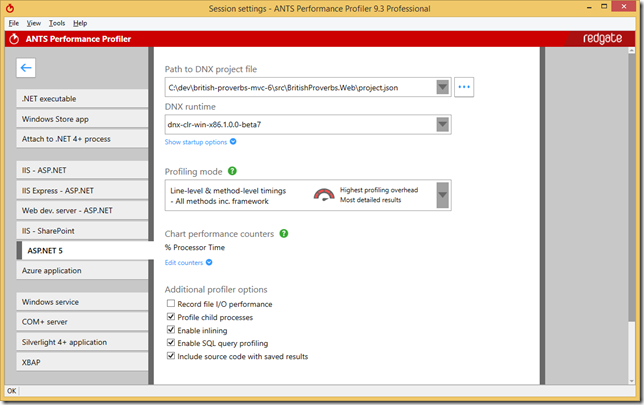
There are several packages which are related to TinyMCE that I have pushed to live Nuget feed as you can see in the picture left hand side. (This list might extend in the future) Briefly the packages are :
TinyMCE : The main package which holds the infrastructure .js files of the library and plugings. This package has no dependency at all.
TinyMCE.JQuery : Holds the JQuery integration files for TinyMCE. This package depends on TinyMCE and JQuery packages.
TinyMCE.MVC : This package holds the ASP.NET MVC EditorTemplates for TinyMCE. This package depends on TinyMCE package.
TinyMCE.MVC.JQuery : Holds the ASP.NET MVC EditorTemplates for TinyMCE.JQuery. This package depends on TinyMCE.JQuery package.
TinyMCE.MVC.Sample : Holds a sample ASP.NET MVC mini Application (it is all just a model, a controller and a view) for TinyMCE. This package depends on TinyMCE.MVC package so it uses EditorTemplates to illustrate a sample.
TinyMCE.MVC.JQuery.Sample : This package holds a sample ASP.NET MVC mini Application (it is all just a model, a controller and a view) for TinyMCE.JQuery. This package depends on TinyMCE.MVC.JQuery package so it uses EditorTemplates to illustrate a sample.
How to get TinyMCE work on and ASP.NET MVC project
I would like set the boundaries here :
- This will demonstrate the process of integrating TinyMCE to an ASP.NET MVC application.
- I will use the JQuery one because it has more downloads on Nuget

- I will work with the TinyMCE.JQuery.MVC package to pull down all the TinyMCE stuff along with ASP.NET MVC EditorTemplates.
Always first thing to go is File > New Project > ASP.NET MVC 3 Web Application.
In order to make it more clear, I have created a very simple BlogPost model to work with. First, I am going to show you the way without TinyMCE then later we will bring it down through Nuget.
The model looks like as below :
    public class BlogPost {

        public string Title { get; set; }
        public DateTime PostedOn { get; set; }
        public string Tags { get; set; }
        public string Content { get; set; }

    }
Then I created a controller to create a new blog post (assume here this model is related to database). The controller is simple :
using System.Web.Mvc;
using TinyMCEJQueryMVCNuget.Models;

namespace TinyMCEJQueryMVCNuget.Controllers {

    public class BlogPostController : Controller {

        public ActionResult Create() {

            return View();
        }

        [HttpPost, ActionName("Create")]
        public ActionResult Create_post(BlogPost model) {

            ViewBag.HtmlContent = model.Content;

            return View(model);
        }

    }
}
It basically does noting. Just getting the model on the http post event and pushing it back to the view with a ViewBag property.
Here is what some portion of our view looks like :
@using (Html.BeginForm()) {

    @Html.ValidationSummary(true)

    <fieldset>
        <legend>BlogPost</legend>

        <div class="editor-label">
            @Html.LabelFor(model => model.Title)
        </div>
        <div class="editor-field">
            @Html.EditorFor(model => model.Title)
            @Html.ValidationMessageFor(model => model.Title)
        </div>

        <div class="editor-label">
            @Html.LabelFor(model => model.PostedOn)
        </div>
        <div class="editor-field">
            @Html.EditorFor(model => model.PostedOn)
            @Html.ValidationMessageFor(model => model.PostedOn)
        </div>

        <div class="editor-label">
            @Html.LabelFor(model => model.Tags)
        </div>
        <div class="editor-field">
            @Html.EditorFor(model => model.Tags)
            @Html.ValidationMessageFor(model => model.Tags)
        </div>

        <div class="editor-label">
            @Html.LabelFor(model => model.Content)
        </div>
        <div class="editor-field">
            @Html.EditorFor(model => model.Content)
            @Html.ValidationMessageFor(model => model.Content)
        </div>

        <p>
            <input type="submit" value="Create" />
        </p>

        <p>
            Posted Content : @ViewBag.HtmlContent
        </p>

    </fieldset>
}
When we open it up, we will see nothing fancy there :

When we post it, we will get this result :

So, we got this baby working. Let’s improve it. What we need here is to give the blogger a real blogging experience. In order to do that, we need a text editor so that we could enter our content pretty easily.
First thing is to pull down the TinyMCE.JQuery.MVC package over the wire.

When you start installing the package, your solution will have a movement so don’t freak out ![]()

 So now we have our package installed, we are ready to make some changes on our model. When you go to ~/Views/Shared/EditorTemplates folder on your solution, you will see that there is a cshtml file there called tinymce_jquery_full.cshtml. This partial view enables you to view your model property with TinyMCE editor.
I am not going to go inside this file and explain how to do this (however, it is pretty simple). It is entirely an another topic.
What I would like to point out here is this : if you are working with this package (TinyMCE.JQuery.MVC), you need to have JQuery referenced on your file. We have our JQuery referenced on our _Layout.cshtml file so we do not need to do anything else.
As I got the information from the project admins, TinyMCE can work with JQuery 1.4.3 and after. You don’t need to worry about that as well. Nuget will resolve the dependency without you knowing.
Change to Our Model
To get it work, we need to change our model as follows :
using System;
using System.ComponentModel.DataAnnotations;
using System.Web.Mvc;

namespace TinyMCEJQueryMVCNuget.Models {

    public class BlogPost {

        public string Title { get; set; }
        public DateTime PostedOn { get; set; }
        public string Tags { get; set; }

        [UIHint("tinymce_jquery_full"), AllowHtml]
        public string Content { get; set; }

    }
}
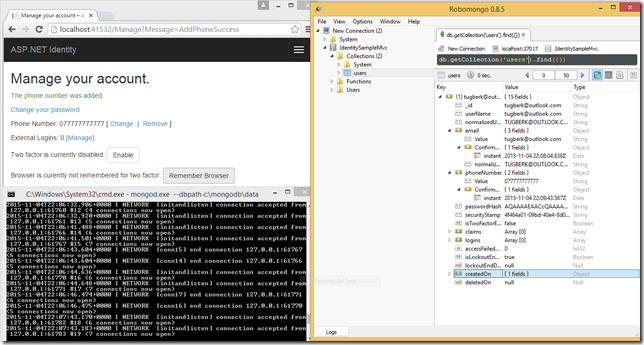
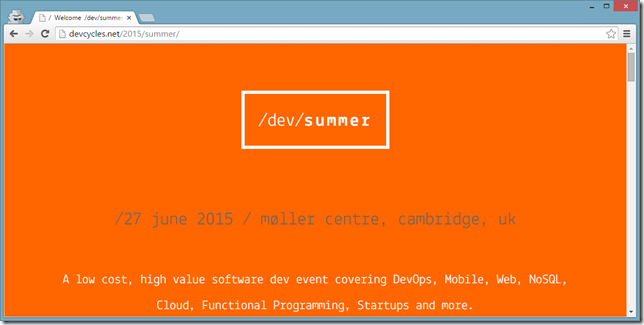
What UIHint attribute does here is to tell the framework to use tinymce_jquery_full editor template instead of the default one. AllowHtml is also there to allow html string to pass from your browser to the server. Build you project and run it again and then you should see a page similar to following one:

If you are unable to see this when you run your application, this can be related to several things. First thing I would do is to check if the Content property is used with EditorFor instead of another Html Helpers :
        <div class="editor-label">
            @Html.LabelFor(model => model.Content)
        </div>
        <div class="editor-field">
            @Html.EditorFor(model => model.Content)
            @Html.ValidationMessageFor(model => model.Content)
        </div>
The second thing would be a JavaScript error related to misconfiguration or a wrong library reverence. Check your browser console for any JavaScript errors for that.
Now when we post it back to server, we will get it back as :

Very nice. Html has been created for us behind the scenes.
It displays it as encoded html because we didn’t specify to view as raw html. In order to do that, just use @Html.Raw.
I hope this will help you to automate some portion of your project as well.

Hey, I'm Tugberk 👋
Coder 👨🏻💻, Speaker 🗣, Author 📚, ex-Microsoft MVP 🕸, Blogger 💻
I live in London, UK 🏡
