Getting Started with ASP.NET vNext by Setting Up the Environment From Scratch
In this post, I'll walk you through how you can set up your environment from scratch to get going with ASP.NET vNext.
28 September 2014
5 minutes read
Related Posts


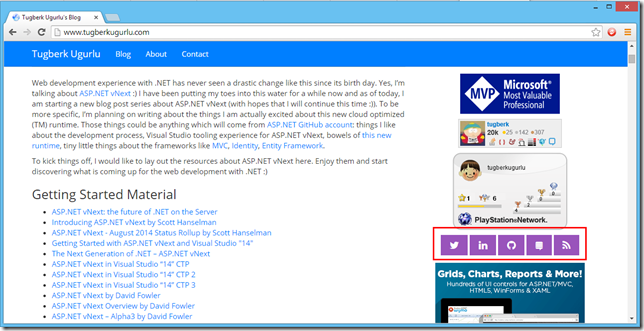
I'm guessing that you already heard the news about ASP.NET vNext. It has been announced publicly a few months back at TechEd North America 2014 and it's being rewritten from the ground up which means: "Say goodbye to our dear System.Web.dll" :) No kidding, I'm pretty serious :) It brings lots of improvements which will take the application and development performance to the next level for us, .NET developers. ASP.NET vNext is coming so hard and there are already good amount of resources for you to dig into. If you haven't done this yet, navigate to at the bottom of this post to go through the links under Resources. However, I strongly suggest you to check Daniel Roth’s talk on ASP.NET vNext at TechEd New Zealand 2014 first which is probably the best introduction talk on ASP.NET vNext.
What I would like to go through in this post is how you can set up your environment from scratch to get going with ASP.NET vNext. I also tnhink that this post is useful for understanding key concepts behind this new development environment.
First of all, you need to install kvm which stands for k Version Manager. You can install kvm by running the below command on your command prompt in Windows.
@powershell -NoProfile -ExecutionPolicy unrestricted -Command "iex ((new-object net.webclient).DownloadString('https://raw.githubusercontent.com/aspnet/Home/master/kvminstall.ps1'))"
This will invoke an elevated PowerShell command prompt and installs a few stuff on your machine. Actually, all the things that this command installs are under %userprofile%\.kre directory.

Now, install the latest available KRuntime environment. You will do this by running kvm upgrade command:

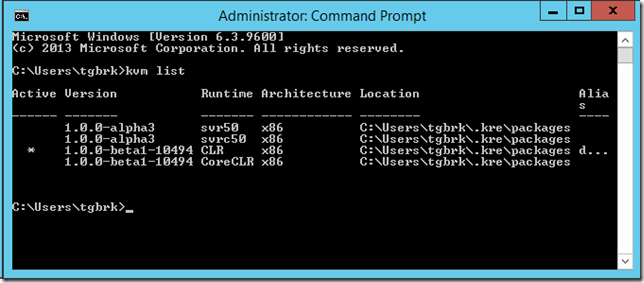
The latest version is installed from the default feed (which is https://www.myget.org/F/aspnetmaster/api/v2 at the time of this writing). We can verify that the K environment is really installed by running kvm list which will list installed k environments with their associated information.

Here, we only have good old desktop CLR. If we want to work against CoreCLR (a.k.a K10), we should install it using the –svrc50 switch:

You can switch between versions using the "kvm use" command. You can also use –p switch to persist your choice of the runtime and that would allow you to specify your default runtime choice which will live between processes.

Our system is ready for ASP.NET vNext development. I have a tiny working AngularJS application that you can find here in my GitHub repository. This was a pure HTML + CSS + JavaScript web application which required no backend system. However, at some point I needed some backend functionality. So, I integrated with ASP.NET vNext. Here is how I did it:
First, we need to specify the NuGet feeds that we will be using for our application. Go ahead and place the the following content into NuGet.config file inside the root of your solution:
<?xml version="1.0" encoding="utf-8"?>
<configuration>
  <packageSources>
      <clear />
      <add key="AspNetVNext" value="https://www.myget.org/F/aspnetrelease/api/v2" />
      <add key="NuGet.org" value="https://nuget.org/api/v2/" />
  </packageSources>
</configuration>
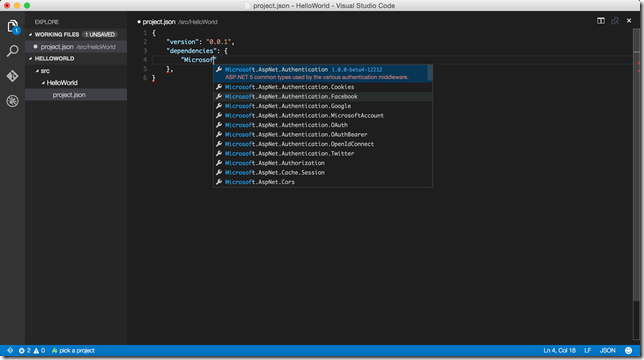
Later, have the project.json inside your application directory. This will have your dependencies and commands. It can contain more but we will just have those for this post:
{
"dependencies": {
"Kestrel": "1.0.0-alpha3",
"Microsoft.AspNet.Diagnostics": "1.0.0-alpha3",
"Microsoft.AspNet.Hosting": "1.0.0-alpha3",
"Microsoft.AspNet.Mvc": "6.0.0-alpha3",
"Microsoft.AspNet.Server.WebListener": "1.0.0-alpha3"
},
"commands": {
"web": "Microsoft.AspNet.Hosting --server Microsoft.AspNet.Server.WebListener --server.urls http://localhost:5001",
"kestrel": "Microsoft.AspNet.Hosting --server Kestrel --server.urls http://localhost:5004"
},
"frameworks": {
"net45": {},
"k10": {}
}
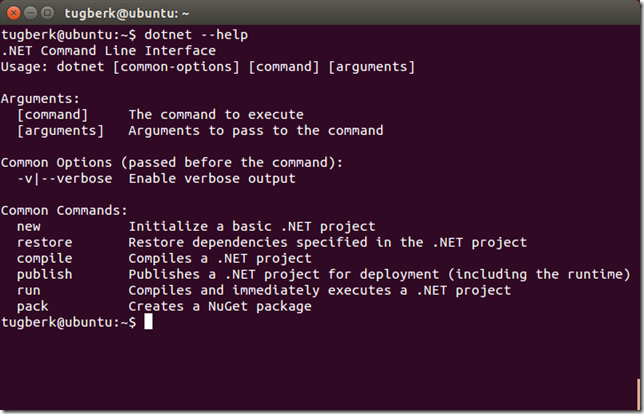
}With the runtime instillation, you can have a few things and one of them is kpm tool which allows you to manage your packages. You can think of this as NuGet (indeed, it uses NuGet behind the scenes). However, it knows how to read your project.json file and installs the packages according to that. If you call kpm now, you can see the options it give you:
As you have the project.json ready, you can now run kpm restore:

Note that the restore output is a little different if you are using an alpha4 release:

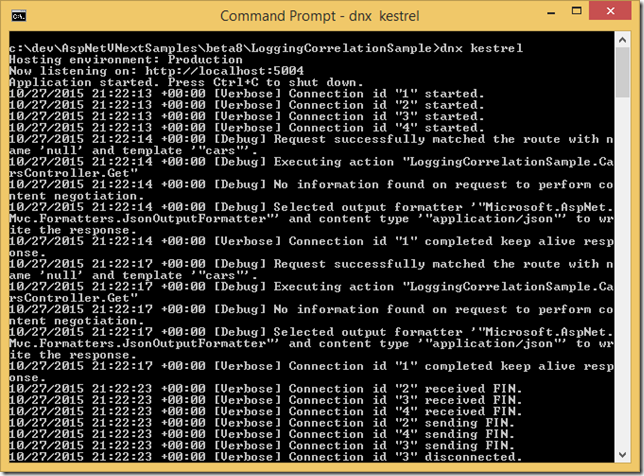
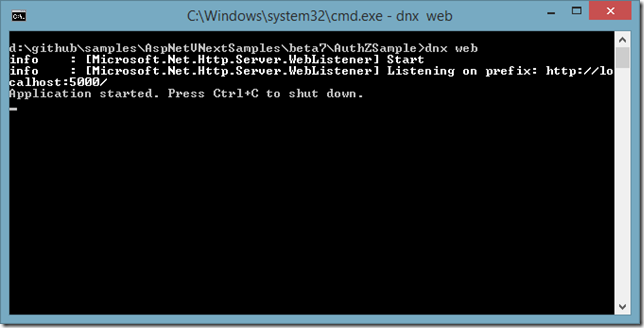
Based on the commands available in your project.json file, you can run the command to fire up your application now.

Also, you can run "set KRE_TRACE=1" before running your command to see diagnostic details about the process if you need to:

My little app is now running:

Resources
- Introduction to ASP.NET vNext (GitHub)
- Getting Started with ASP.NET vNext (ASP.NET)
- ASP.NET vNext by David Fowler
- ASP.NET vNext Overview by David Fowler
- KRuntime Structure
- Project.json File
- Command Line Usage
- Assembly Neutral Interfaces
- Assembly Neutral Interfaces by David Fowler
- Assembly Neutral Types Implementation by David Fowler
- MVC Music Store Sample Application for ASP.NET vNext
- BugTracker Sample Application for ASP.NET vNext

Hey, I'm Tugberk 👋
Coder 👨🏻💻, Speaker 🗣, Author 📚, ex-Microsoft MVP 🕸, Blogger 💻
I live in London, UK 🏡
